[ DIY ] My Black IKEA Kitchen Makeover. Total cost of the makeover: 200 euro.
[ How long have I waited for it! ]
Long Story Short: Why We Decided on a Kitchen Makeover.
We grew tired of the white walls (which were no longer pristine after over two years of kitchen use without a backsplash) and realized the need for more storage - our two Bon Shelves from FermLiving (also here and here) were clearly no longer enough (scroll down for "before" pictures). Also, my aim was to maintain the airy and uncluttered look we had previously while accommodating larger shelves (I'm still a fan of the Nordic and Japanese relaxed minimalism blend—the so-called Japandi style).
This page may include affiliate links – my full disclosure statement is available here.

Most of the products in this photo are from my current Home Edit, you can it find here: My Home Edit.
What did we have in our kitchen before the makeover: IKEA Metod kitchen with black Kungsbacka fronts - the layout consists of two parallel sides - I'll include the picture of the other side shortly. One side has a sink and a more spacious workspace, while the other side is equipped with an oven/hob, an electric kettle, a compact Nespresso coffee machine, and a smaller work surface. Additionally, we already had three unpainted Ikea Ivar cupboards stacked vertically (visible on the right side of the photo above, already painted) and two Bon shelves from FermLiving.

Most of the products in this photo are from my current Home Edit, you can it find here: My Home Edit.
What did we buy: 2 buckets of paint (“Wool” by Schöner Wohnen Farben), 2 pieces of wood (1.8cm thickness) for shelves, shelves holders, and 2 thin (1mm) aluminum sheets to be used as backsplashes - all in the local OBI store. To maintain the clean, minimalist, but relaxed “Japandi” aesthetic, I opted for the "floating" shelves concept. However, due to the thinness of the shelf boards, we needed an alternative method to mount them on the wall. As a solution, we found the smallest possible shelf holders, resembling corner brackets (visible beneath the shelves). Later, I painted these holders to match the color of the shelf and the wall, concealing them to some extent.

Most of the products in this photo are from my current Home Edit, you can it find here: My Home Edit.
The whole process took approximately 4 days - preparing walls and surfaces, then 2 layers of paint applied to walls, ceiling, IKEA Ivar cupboards, and shelves, then mounting shelves, and finally - cleaning all the mess :)
[ Update ] The other side of my kitchen, in my favorite “lost somewhere between Nordic and Japanese relaxed minimalism“ style:
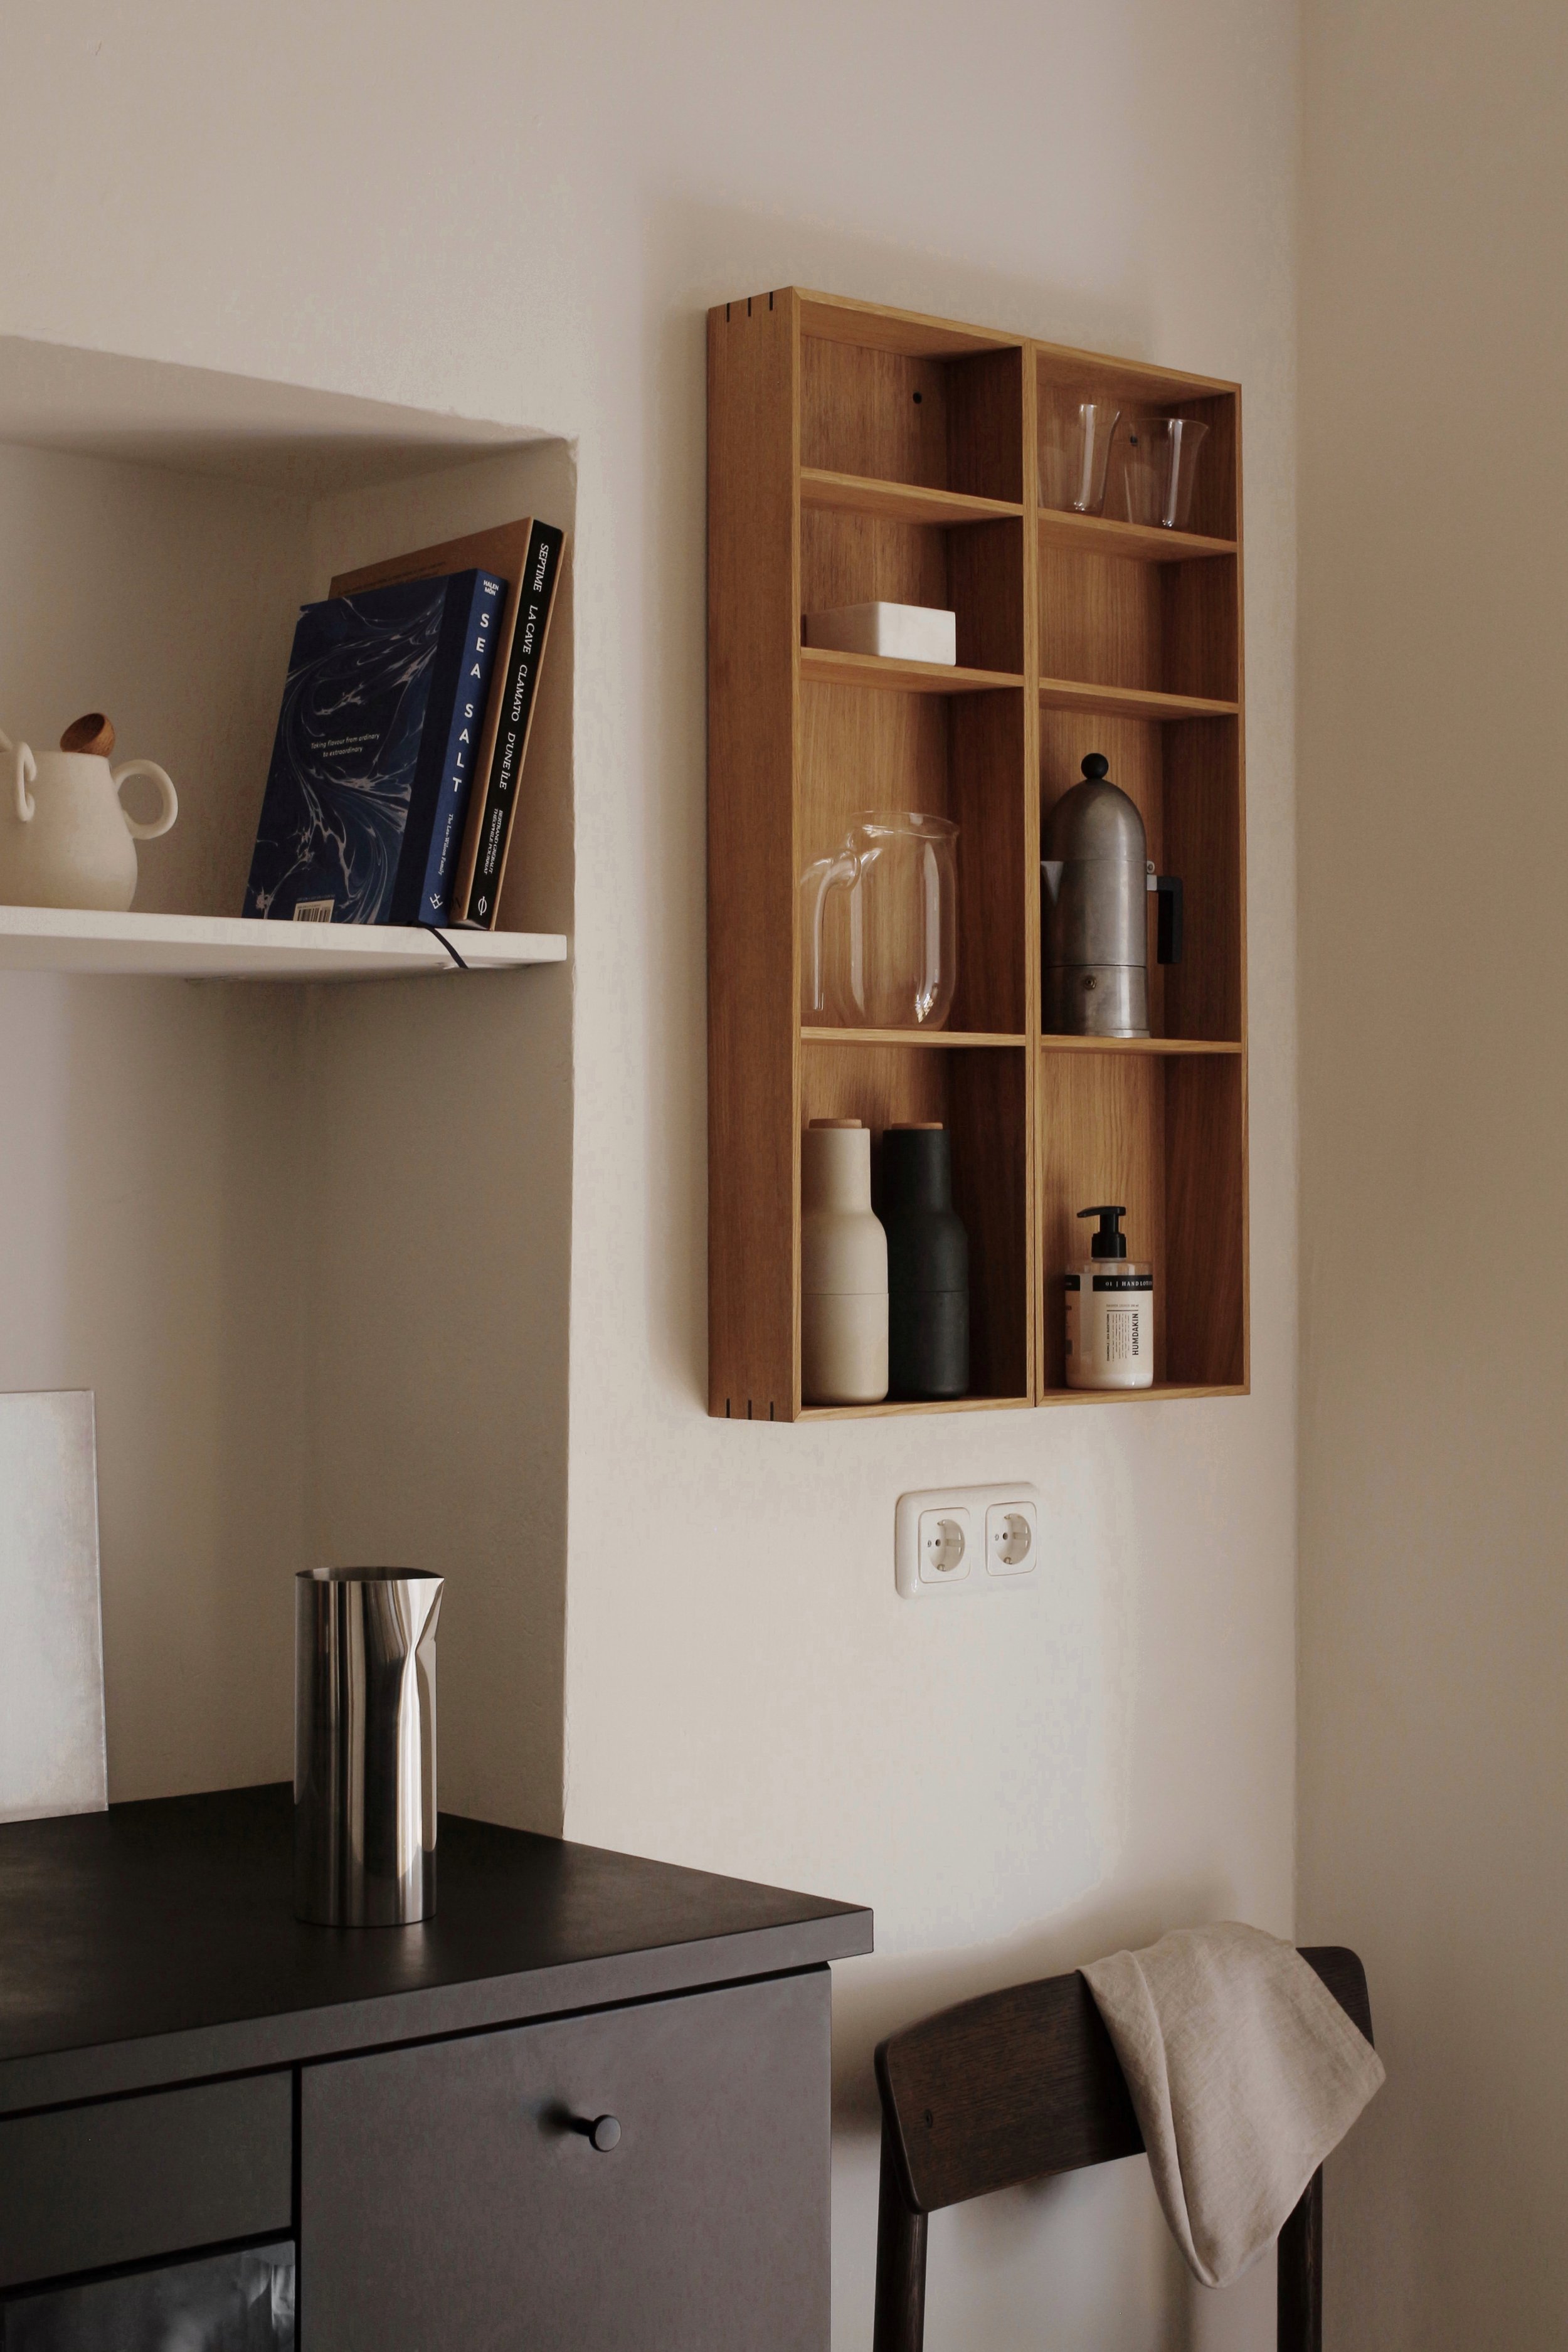
Two Bon Shelves from FermLiving (also here and here). Most of the products in this photo are from my current Home Edit, you can it find here: My Home Edit.
Aaannd - I promised to add the “before” picture, so here it is (the space was already prepared for the makeover, old shelves dismantled, etc.):

I’m pretty happy with the result, especially considering the low cost of the makeover :) All the products from my current Home Edit you can find here: My Home Edit.
The 20 Takeaways List.
Sign up for my newsletter and get the “My 20 favorite practical interior styling takeaways from all interior design/decoration books and online courses I’ve ever read or attended (seasoned with my side notes from my own experience)” list...
…and fresh posts right into your inbox.
What else:
14 rules of my mix of Nordic & Japanese warm minimalism = “Japandi” interior style.
40+ places to find and buy vintage items! [ Updated ]
3 Interior Design / Interior Styling Books I can safely recommend [ useful and beautiful ].